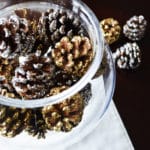
DIY Glittered Pine Cone Vase Filler

Calling all non crafters, Pine Cone Vase Filler is the DIY craft you’ve been looking for

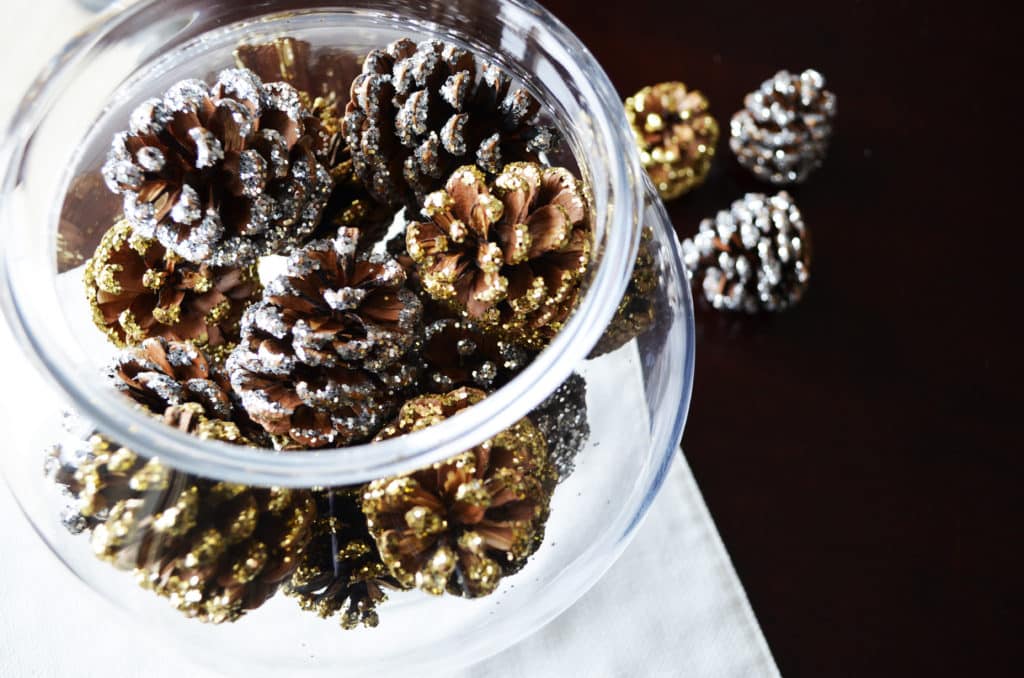
Seriously, don’t let the simplicity of these glittered pine cones trick you, the results are stunningly beautiful. So, get out on your nature hunt and find some pine cones. Then, all you will need is a foam brush, mod podge, plastic cup, silver and gold glitter, VOILA! Arrange in a bowl or vase and marvel at how crafty you just became.

I’m thankful for my Mother collecting all these pine cones over the past years. I foolishly figured when I needed the pine cones I would just walk out my front door where there is a huge pine tree outside, but this year our tree did not produce pine cones due to an infection. Thankfully the tree can be treated in the spring, unfortunately for this winter no pine cones for me. So, when my mom started dropping hers off by the bags full I was elated. I learned my lesson the hard way and I guess I’m going to become even more like my mom after this incident. Don’t judge me too harshly when you come to my home; I open a cabinet and bags of pine cones come falling out. “Hi, my name is Trina and I am a future pine cone hoarder.” Who wouldn’t be after looking at this gorgeous DIY Glittered Pine Cone Vase Filler.

 

Glittered Pine Cone Vase Filler

Today was the quintessential snowy morning to take a drive. The snow did not stick to the roads but only to the trees, roof tops and grass. Driving down the street it felt as if I was living in a snow globe someone just shook up. B E A utiful!

P.S. To kill off any little bugs hiding in the pine cones bake at 200F for 30 minutes, watching closely throughout baking.

Print
clock clock iconcutlery cutlery iconflag flag iconfolder folder iconinstagram instagram iconpinterest pinterest iconfacebook facebook iconprint print iconsquares squares iconheart heart iconheart solid heart solid icon
DIY Glittered Pine Cones Vase Filler

DIY Glittered Pine Cone Vase Filler


Ingredients

  • Pine cones
  • Foam brush
  • plastic cups
  • Mod podge
  • Gold and silver glitter
  • paper bag or plastic for counter top
  • Vase or bowl to display
  • Baking sheet lined with foil

Instructions

  1. Preheat oven to 200F
  2. Place pine cones on baking sheet and place in oven for 30 minutes to kill off any bugs, watching closely throughout to prevent scorching
  3. Allow pine cones to cool before adding glitter
  4. Lay out paper or plastic on counter top
  5. Fill cups with glitter
  6. Using foam brush add a very light coating of Mod Podge to the tips of the pine cones
  7. Roll the pine cones in the glitter and shake off excess
  8. Place on paper to dry and repeat till desired amount
  9. Fill vase or bowl with assorted silver and gold pine cones
  • Category: Craft

Other Crafts and Activities to Explore

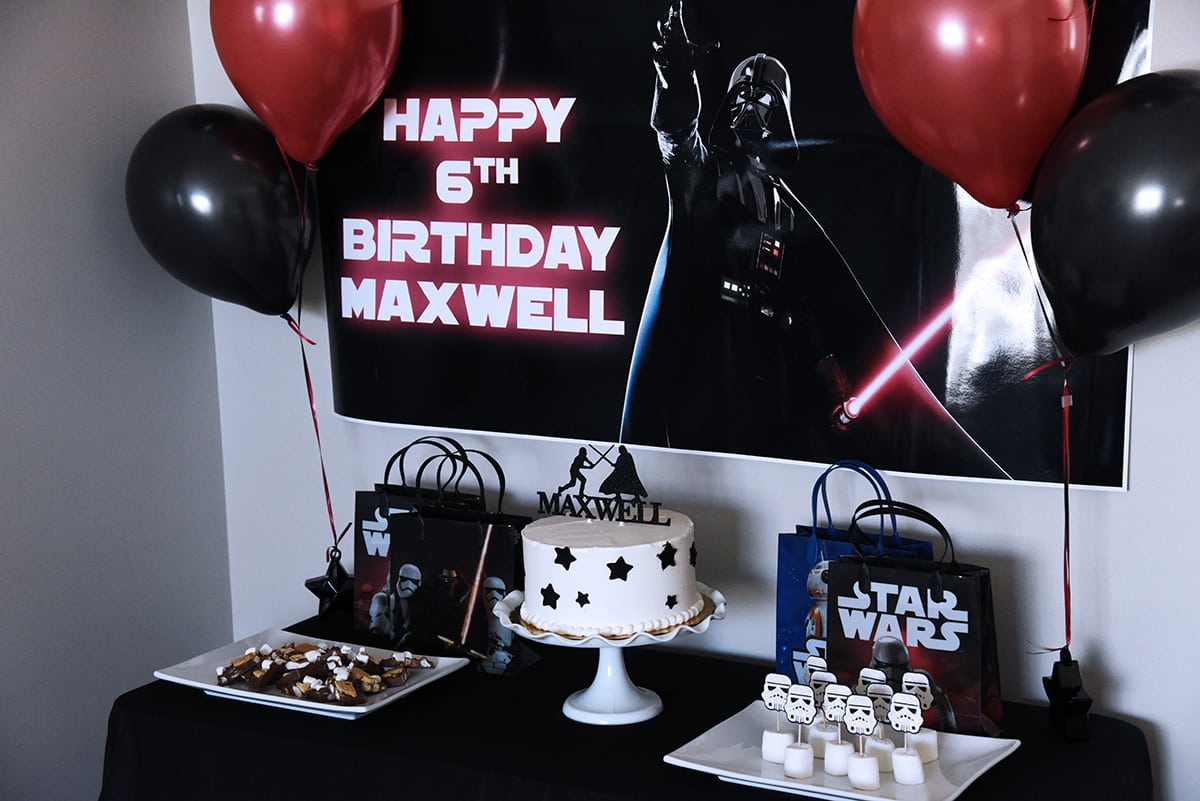
STAR WARS BIRTHDAY PARTY

Star Wars Birthday Party

ONLY ONE WORD TO DESCRIBE THIS STAR WARS BIRTHDAY PARTY…EPIC This incredible star Wars birthday party is for ALL ages. […]

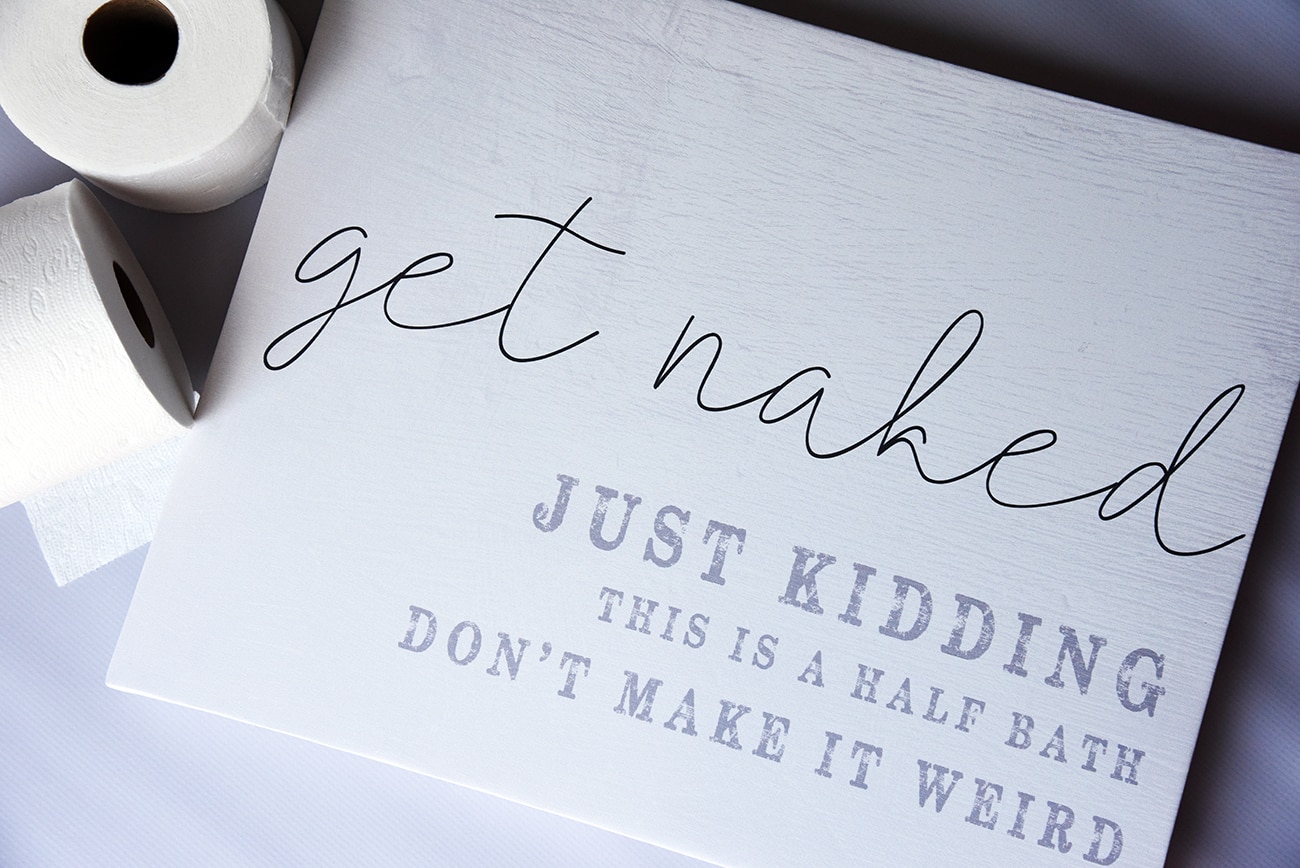
GET NAKED HALF BATH CANVAS

Get Naked Half Bath Canvas

  Entertain your guests with this funny Bathroom Canvas This pandemic really has us appreciating toilet paper like never before. […]

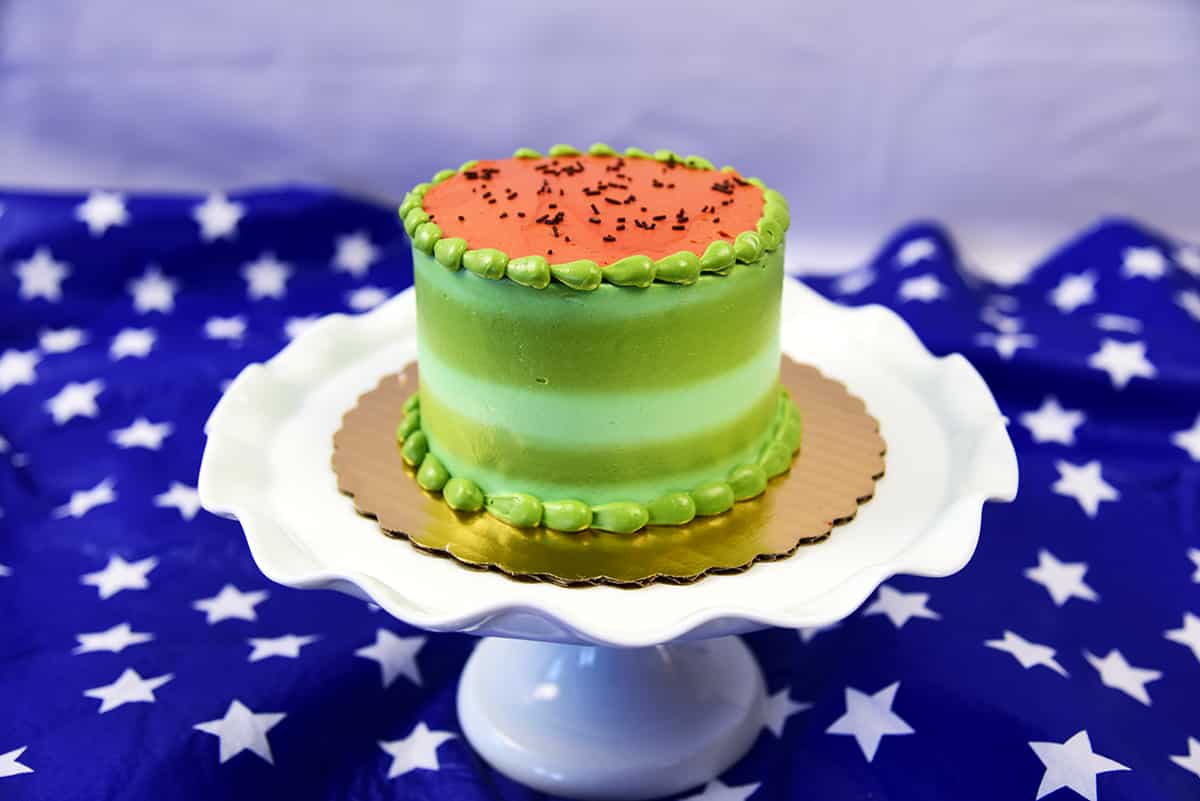
Let Them Eat Cake

It’s time for everyone to start a new tradition and… LET THEM EAT CAKE! Supplies needed: A cake, place mat, […]

Trolls Birthday Party

Trolls Birthday Party

Trolls themed parties are extremely popular right now! Trolls birthday parties are so popular that I could not find any party […]

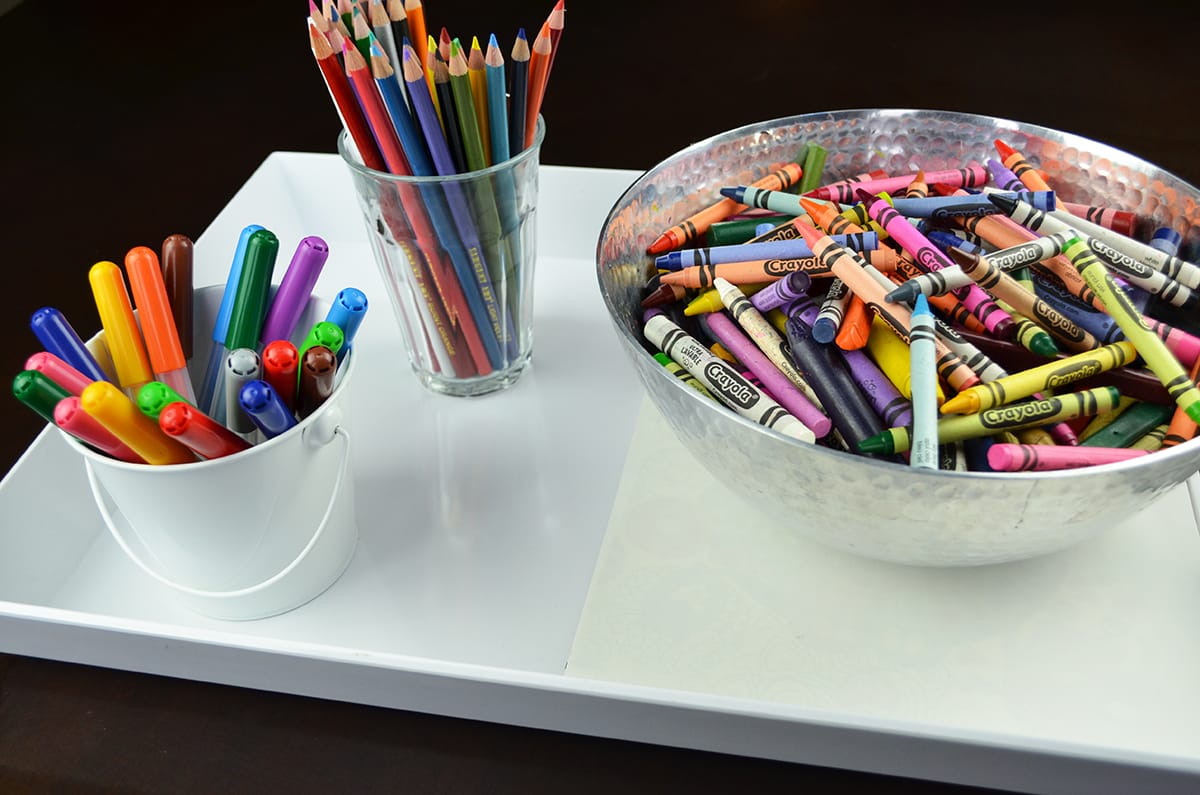
Coloring Tray Centerpiece

Who says this gorgeous Coloring Tray Centerpiece is just for kids… You know that if you were sitting in front […]

Chocolate Candy Hearts

Chocolate Candy Hearts

Here you will find everything you need to make these beautiful and delectable Chocolate Candy Hearts Valentines day is right […]

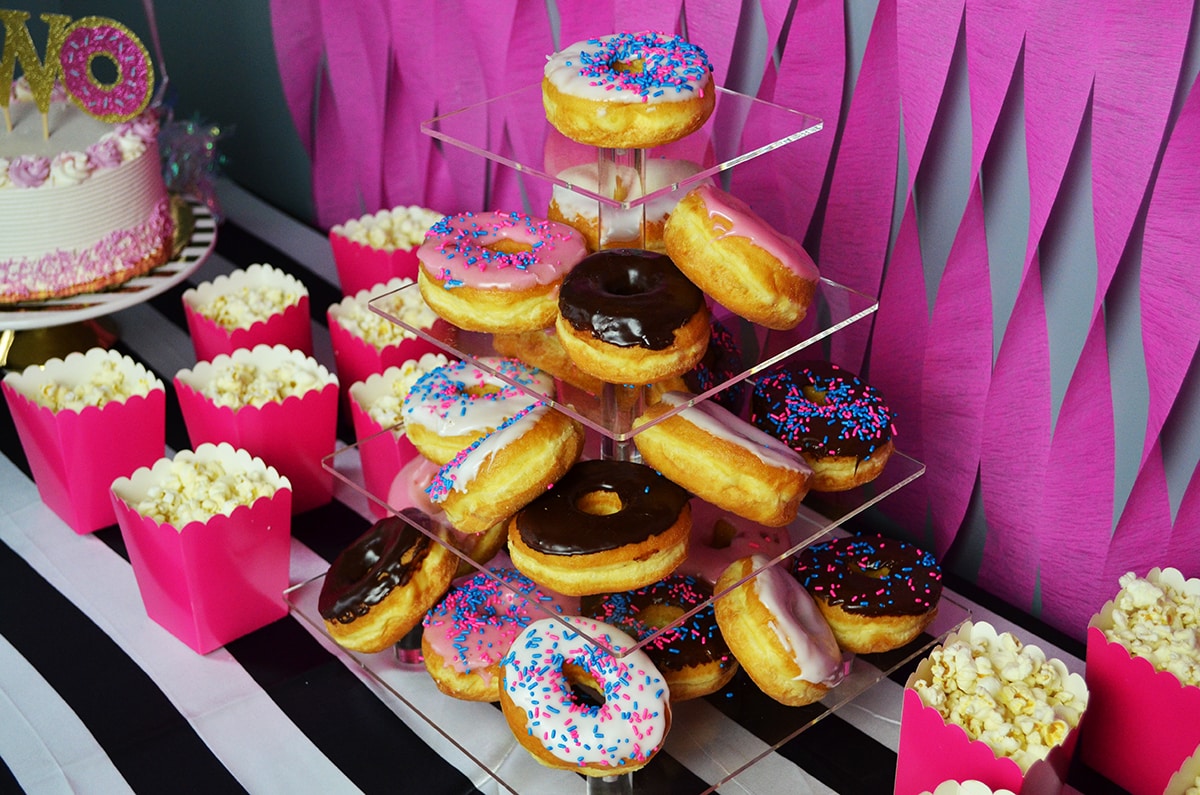
Donut Grow Up Party

Donut parties are trending like crazy right now! Keep reading for all the supplies and tips to create your very […]

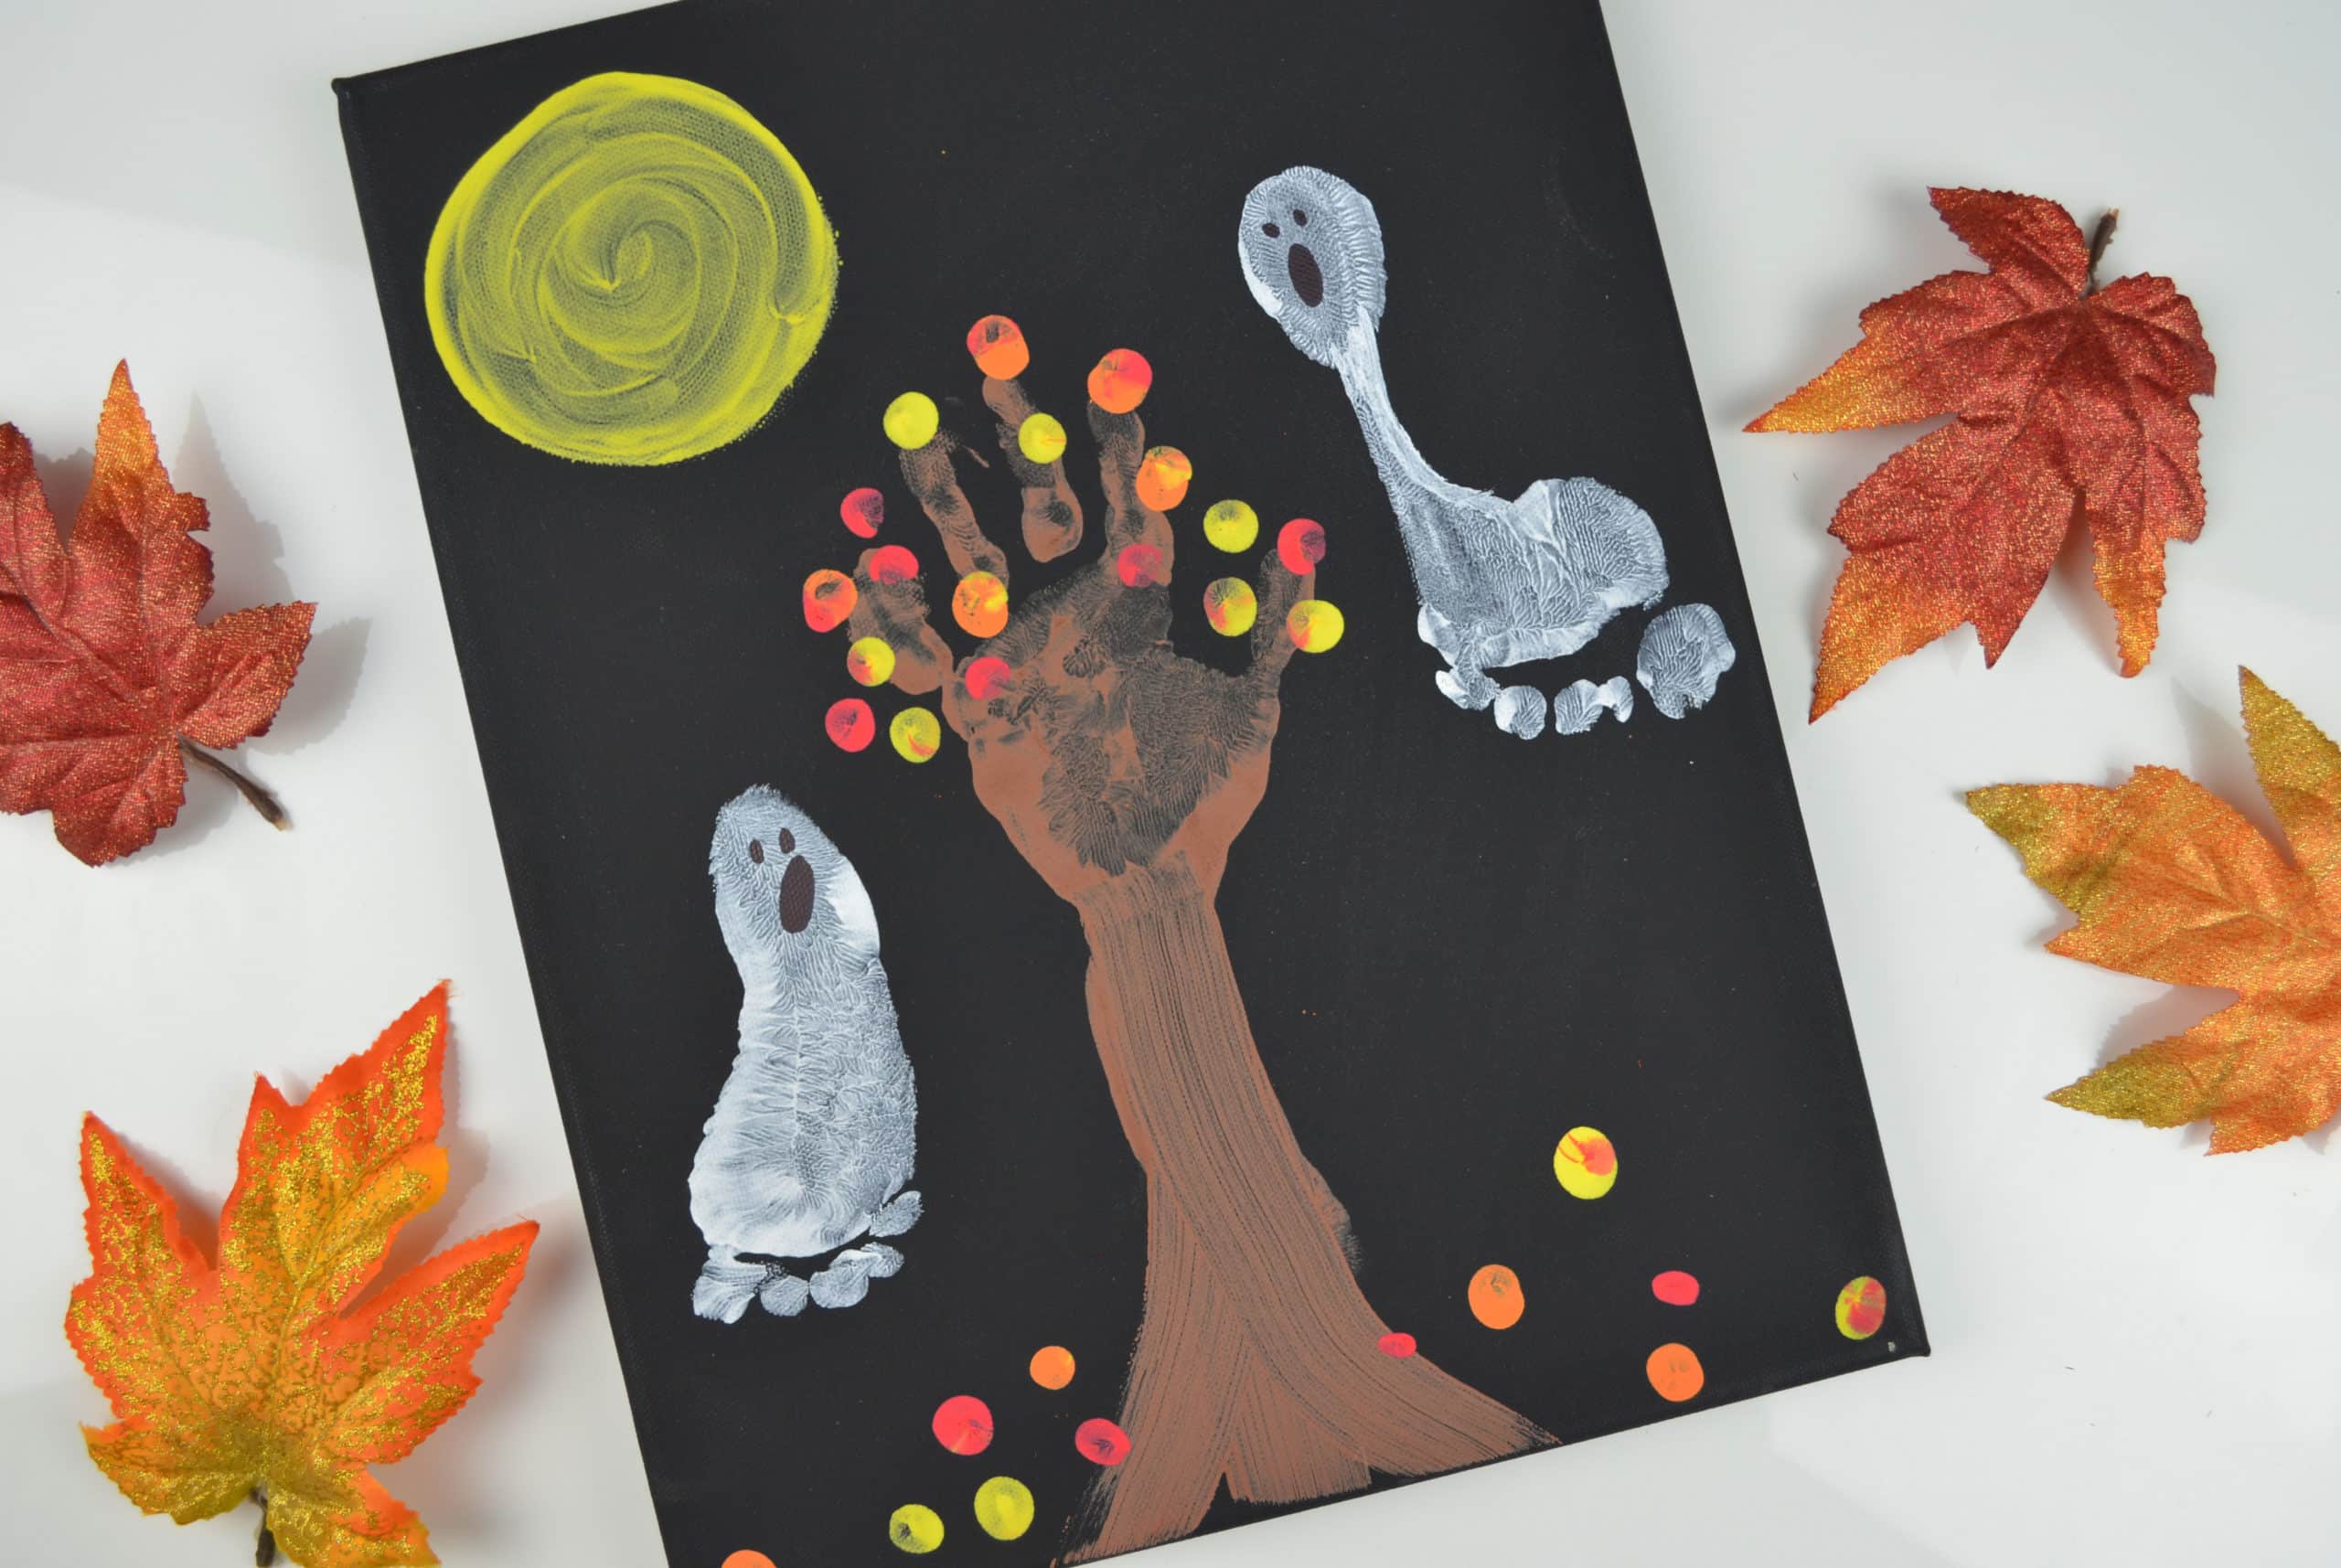
Halloween Ghost Canvas

Halloween Ghost Canvas

This Halloween Ghost Canvas is unbelievably adorable hung up on a wall! Do you want to make a memory that […]

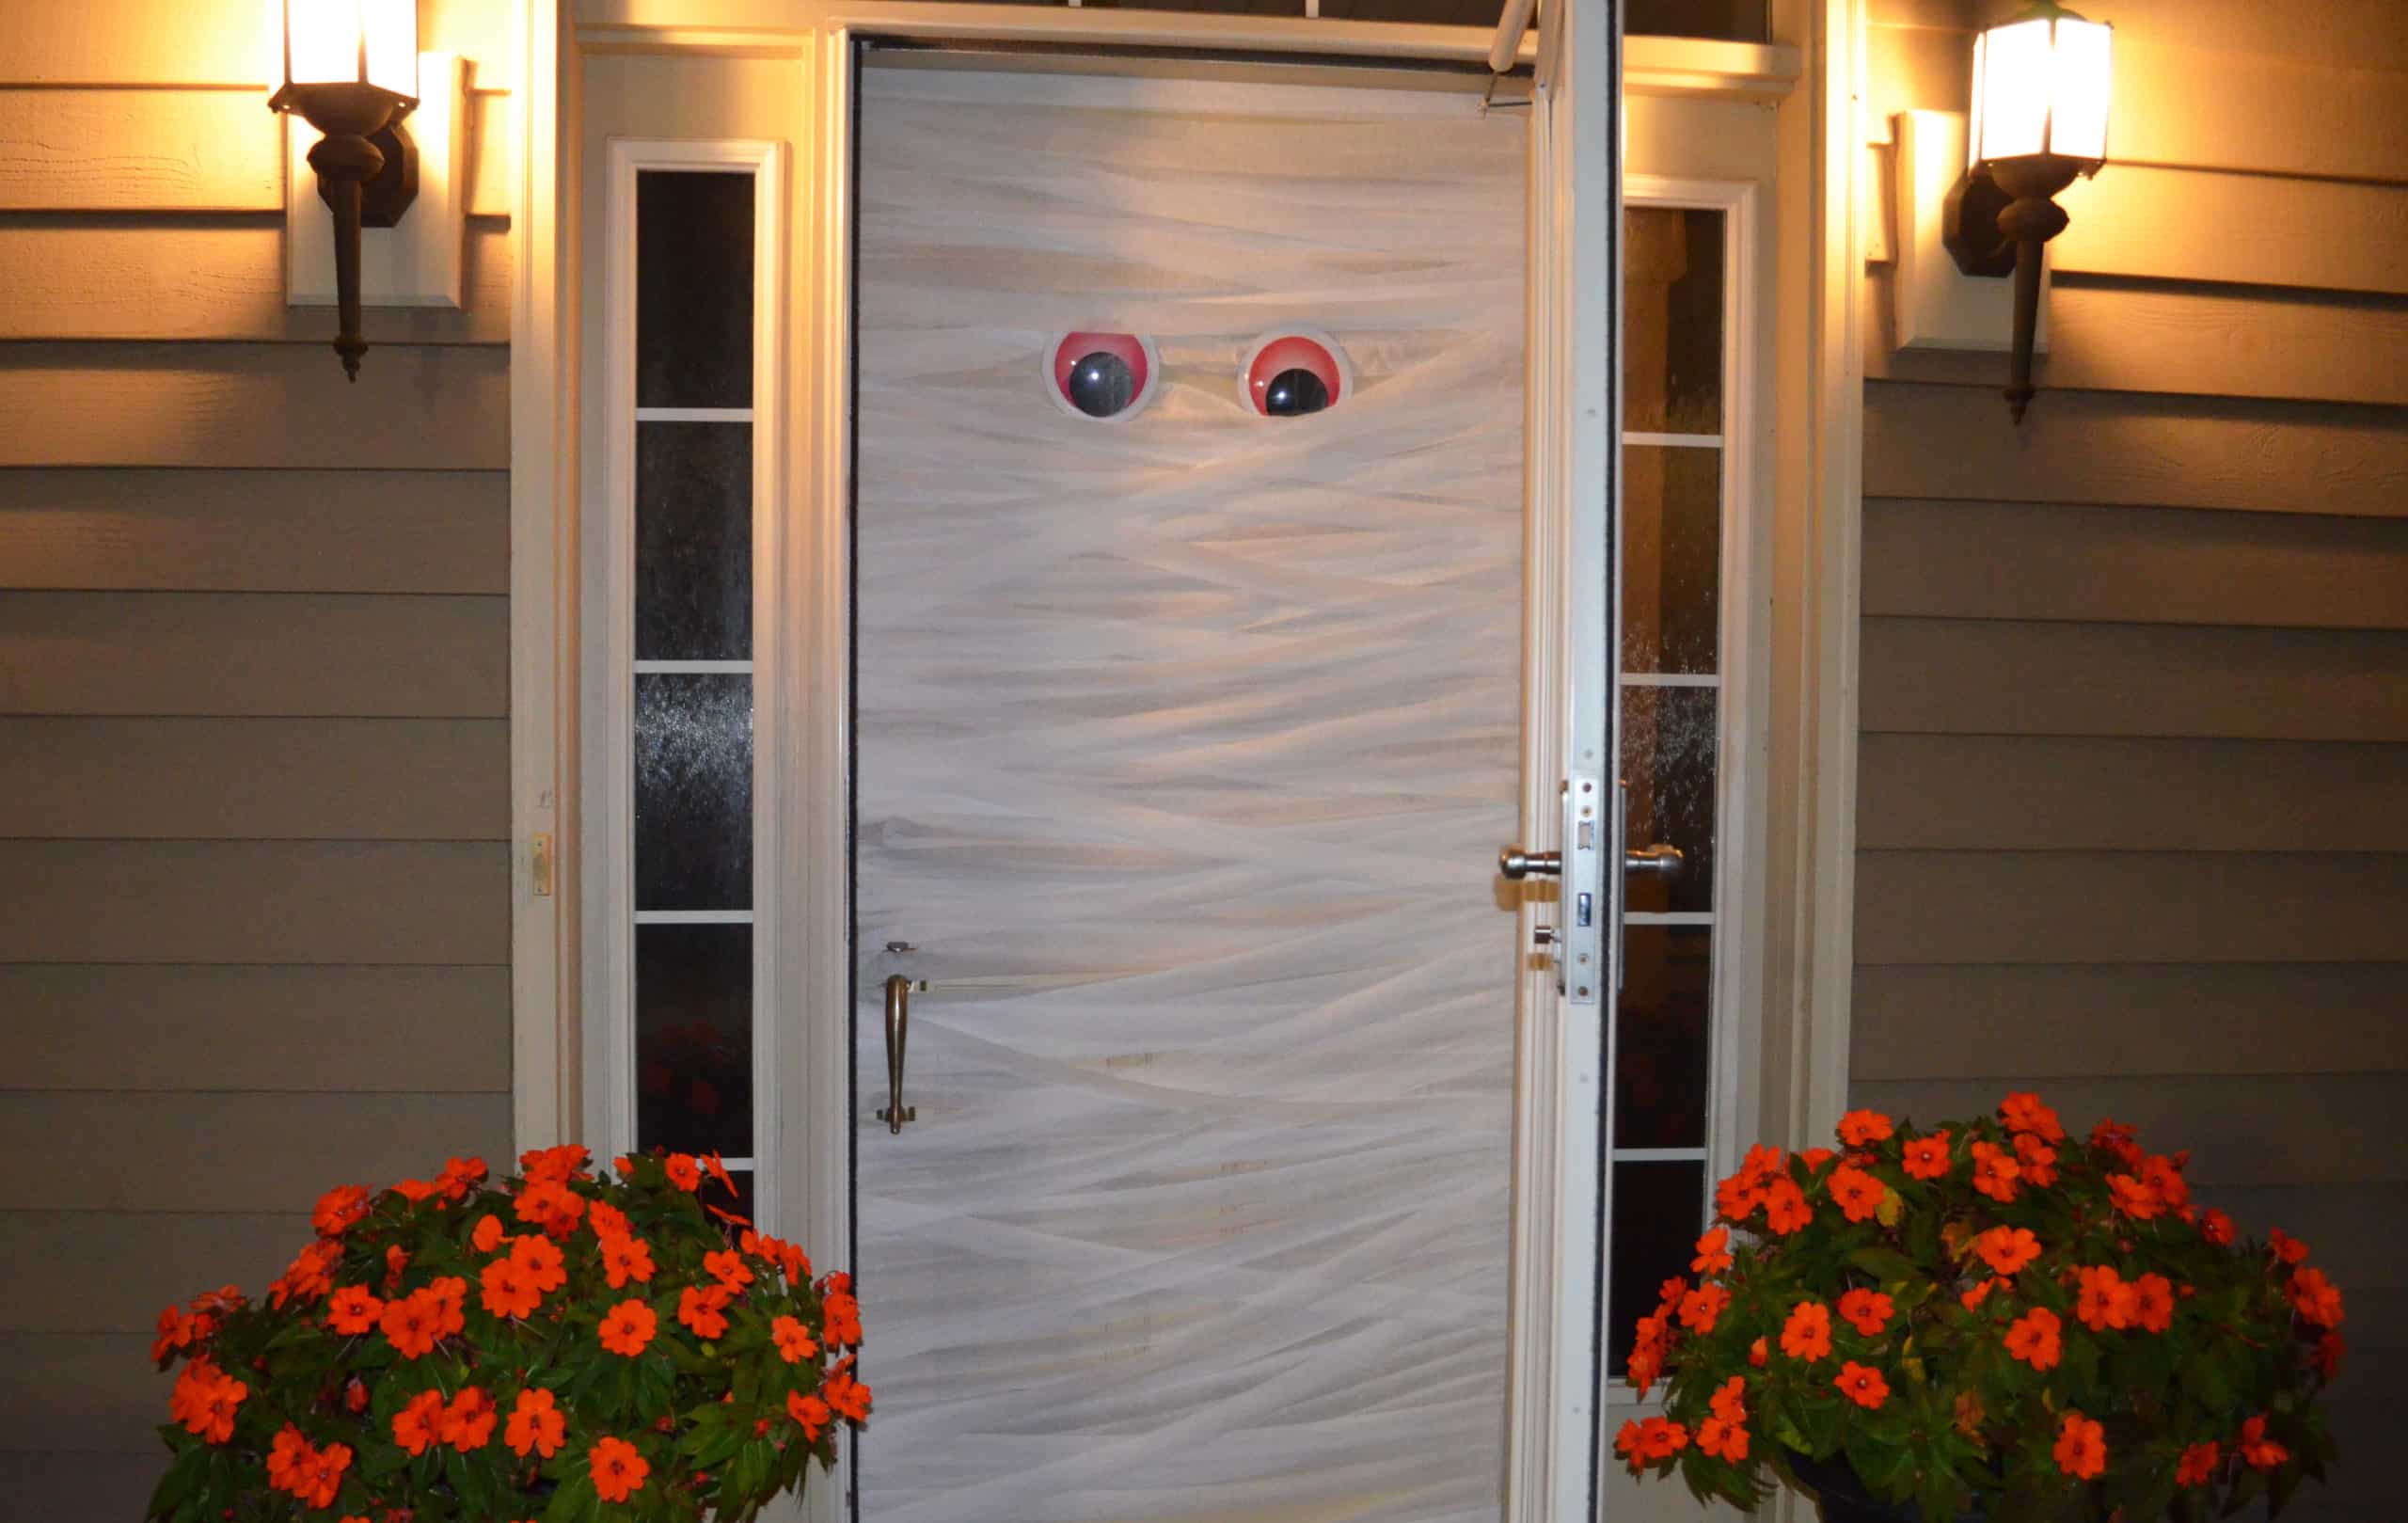
Halloween MUMMY Door

Halloween MUMMY Door

I’m giving you all the tips and tricks to create your very own spooky Halloween MUMMY Door! I love holidays, […]

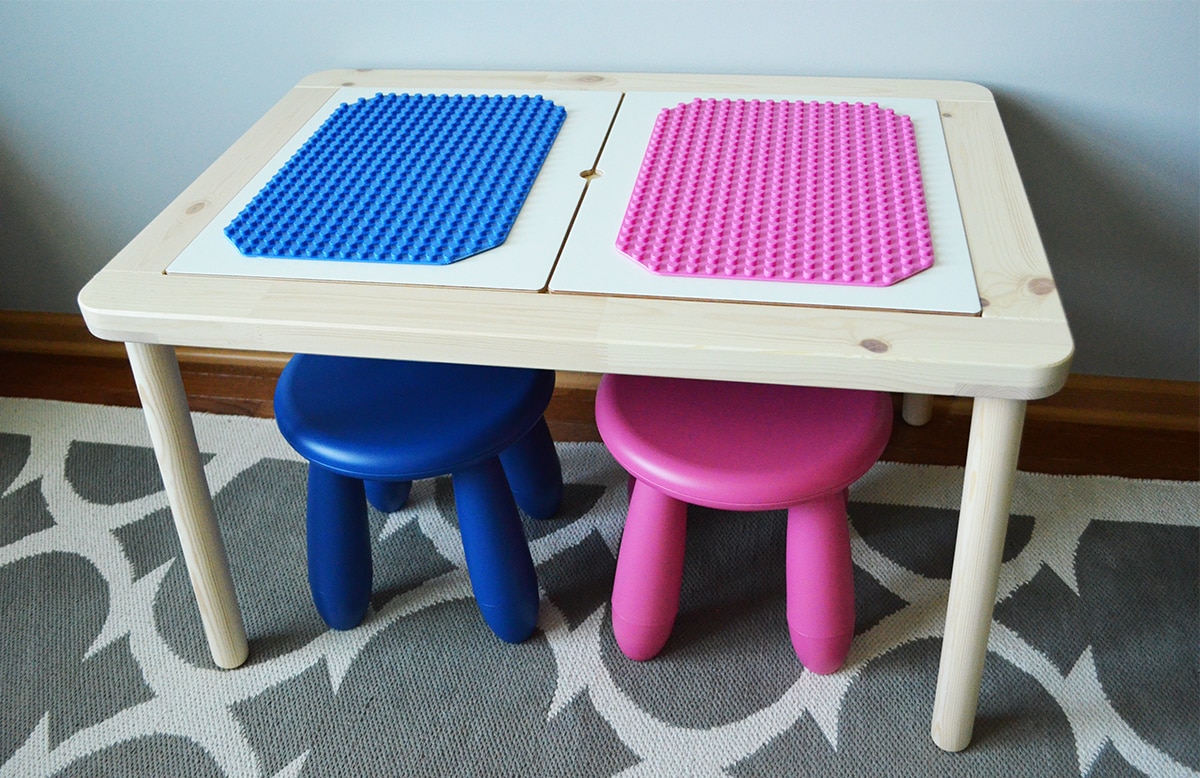
The Best LEGO Table

The Best LEGO Table (IKEA HACK)

D.I.Y. Lego Table is a genius way to hide all those tiny pieces for when they are not being used […]

Elephant Canvas Art

Elephant Handprint Canvas

Create a memory to last a lifetime making this ADORABLE Elephant Handprint Canvas with your little ones today! So here […]

The Beginning of The First Last

!!!Last day school sign links and instructions at bottom!!! I’m not sure who was more nervous on Maxwell’s first day […]


Leave a Comment

Your email address will not be published.

Recipe rating 5 Stars 4 Stars 3 Stars 2 Stars 1 Star

*

This site uses Akismet to reduce spam. Learn how your comment data is processed.