 My baby has officially turned two and I have officially cried three times this week over how fast the time has gone by. This little boy has stolen my heart and is such a sweet, extremely shy, sensitive, loving, amazing, white boy dancer and joy to watch grow! I finally broke down and painted him a chalkboard wall that I’ve been contemplating over for two years. It is such a big commitment, I had many worries about using chalkboard paint and I could not find any relief when searching the internet. I must say the biggest mistake was not doing this sooner! Should of gone with my gut on this one. I have a few suggestions that may help you decide if a chalkboard wall is right for you. Maybe here, you can find the answers I was searching for the past two years and never found.
Important Tips for your CHALKBOARD WALL
1. The paint was from Sherwin Williams (Krylon chalkboard paint sold in quarts) it was of good quality and painted on like a thick molasses.
2. Prepping the wall before painting is a must! Lightly sand with a sanding block to remover any rough spots and smooth out the wall. If you skip this step you can get chipping from chalk use on the wall.
3. Paint one coat and repeat a second within the hour. I suggest adding a third and final coat for added durability. Your kids are going to want to use this a lot over the years so putting and extra coat of paint will allow for less wear over time. My main suggestion do the first two coats one day and wait 24 hours and repeat for a final third coat.
4. Do not use or do anything to the board for a minimum of 24 hours but preferably 48 hour.
5. Once wall has completely cured take big pieces of white chalk and rub the entire wall lightly to break it in and give that chalkboard look.
6. After wall is completely rubbed with white chalk take a dry cloth and rub in circular motions over the entire wall.
7. Last step use a squeezed out damp cloth with plain water and again in circular motions go over the wall lightly. This should now leave you with a perfect chalk board wall that is broken in and ready for lots of fun for years to come!
Truly wishing I had his one year photo with this amazing DIY chalkboard wall, but I’m just glad I did not wait another year. The nervousness I felt that a huge black wall would look terrible in my house was just false. First it is not black, when you do the initial white out with chalk it really softens the color. I completely encourage you to go with your gut and give in to this amazing gift that keeps on giving and will for years to come. Maxwell loves his chalkboard wall and is busy being a little artist as we speak.
All kids try to write on the wall at some point, whether we see the little artist at work or they find a nice hiding spot (behind the mattress on the wall, behind the couch, etc.). Why not give them a special place where they can be free to be the little artists they are without the panic and having to repaint the walls. 🙂
 Feeling so happy, proud, optimistic, excited and loved being this little mans Mama! Happy Birthday my beautiful son may god bless you with many more birthdays and all the happiness in the world! Can’t wait for more amazing moments that this year will bring as I watch you grow. Love, Mommy
Use your DIY Chalkboard Wall for a special announcement
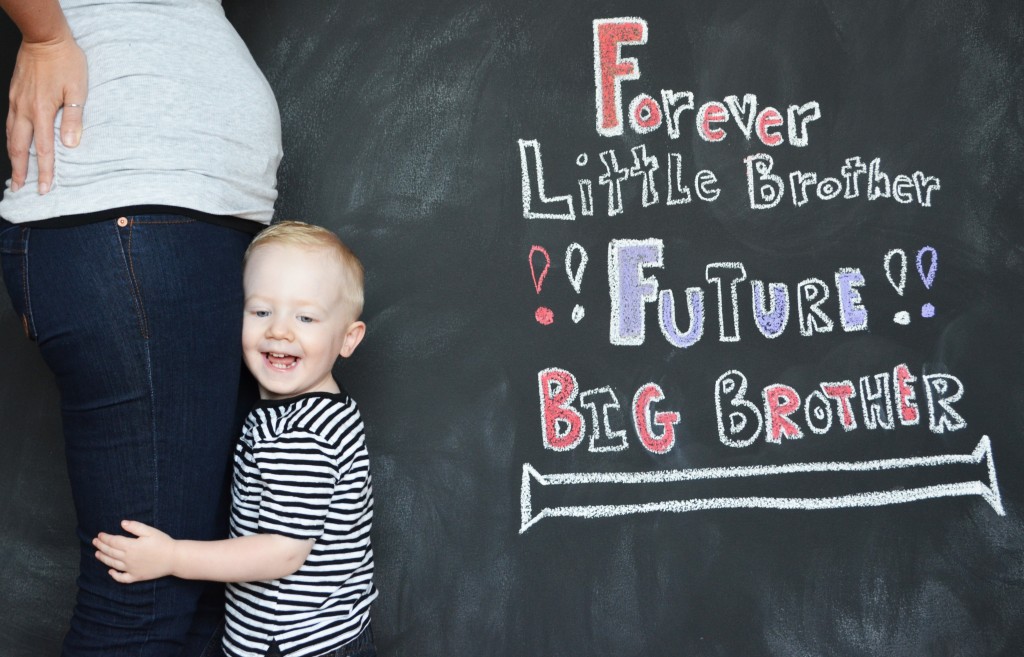

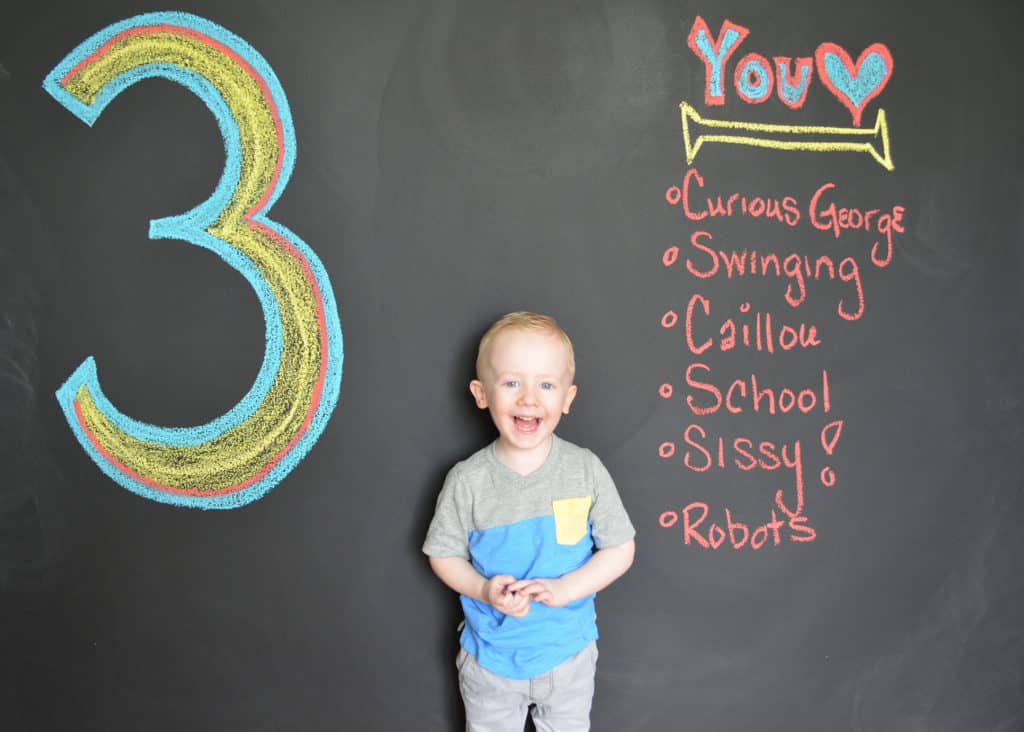
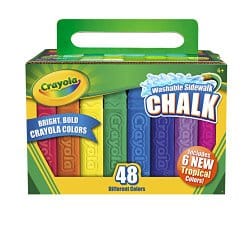
Don’t forget to buy your chalk!


Job well done. The wall looks fabulous. And think of the endless possiblities…love the special tribute to your lil man.