*Re-posting this adorable gift idea for teachers and staff *
The end of the school year is near and this adorable gift will make any teacher or special helper in your little ones life smile. Maxwell sure loved helping make them and when he gave this gift to his special helpers he had the sweetest smile on his face. Moments where I see my little guy feel proud melt my heart. Toddlers typically like to take everything and say “MINE” so giving can be a very difficult task. Seeing Maxwell feel joy and not have a complete melt down that the gift was being taken from him is a huge sign that he is growing up, way to fast of course! My heart is proud to watch him grow into such a sweet little guy, but also sad wanting to slow every moment down as much as possible.
If you have never made a flower pen before I urge you to. The pen is so simple to make and for some reason I find writing with a flower pen makes me happier than a plain old boring one. I currently have a few extra pens sitting on my kitchen counter and I must say I feel like they will not get “misplaced” as easily as other pens. So whether your looking for a beautiful gift to make or just a way to keep pen thief’s away this craft is perfect.
*UPDATE One Year Later* Currently, I still have all my flower pens from last year(except the ones that ran out of ink)! Some how they did not disappear like all the other pens, you know the ones that seem to have sprouted legs and ran away 😉
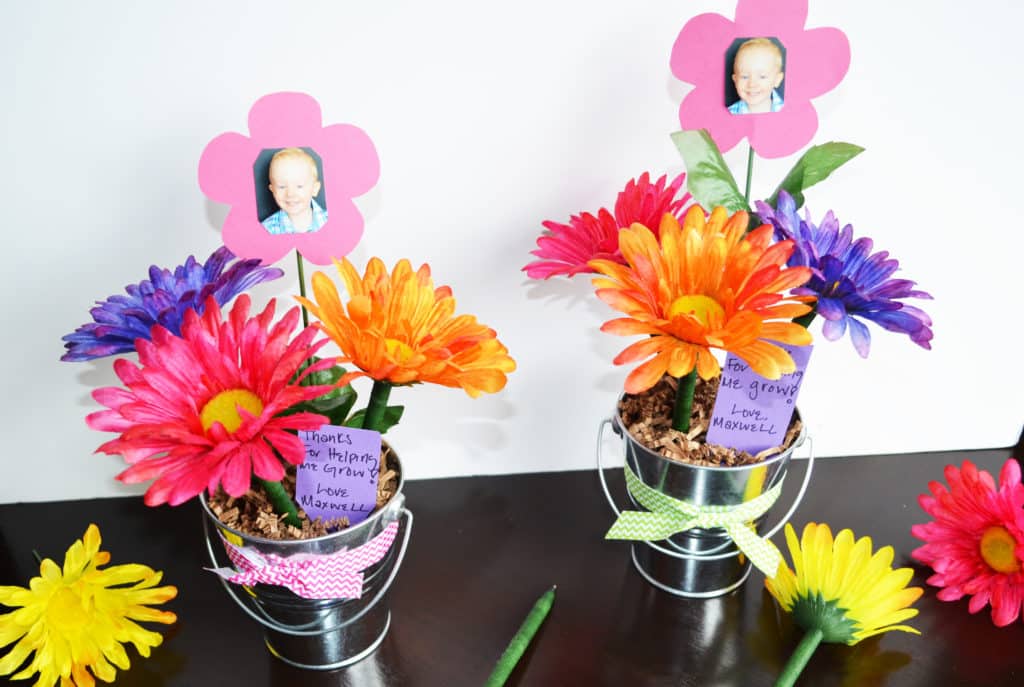
You child’s picture as one of the flowers.
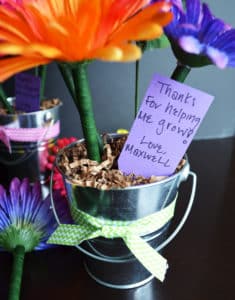
In place of flower informational tags place a personal message, thanking that special someone for helping your little one grow!
This gift would also be great for children to give parents grand parents etc…
Print
Flower Pen Teachers Gift
Ingredients
- Pens with a removable top
- Green floral wrapping tape
- Faux flowers
- Wire cutters
- Glue gun
- Scissors
- Mini pail
- Green styrofoam
- Brown paper filler
- Ribbon
- Thick crafting paper
- Double sided tape
- Markers
- Child’s picture
Instructions
- Take tops off pens (I used a small flat head screw driver to help pop them off)
- Starting from the bottom of the pen wrap green floral tape all the way around to the top of the pen
- Using wire cutters cut the flower stem so that it fits into the pen
- Place a small amount of hot glue in the opening of pen and place flower stem into the top (Voa La!)
- Take ribbon and tie around pail for extra decor, use hot glue to secure
- Insert the green floral styrofoam into the bottom of the pail (should go just about half way up pail)
- Fill the pail to the top with brown paper filler
- Take thick craft paper and cut out a flower and one circle for the backing
- With wire cutter cut a stem to use as your picture holder
- Use double sided tape to place child’s picture in center of flower
- Take glue or double sided tape to adhere flower picture to the stem, use the small cut out circle for the backing
- Cut out your flower tag from craft paper and write cute saying “Thanks for helping me grow”
- Finally take your flower pens and stick them into the decorated pot followed by your flower picture stem and finish with flower tag
- Category: Craft
Other Crafts and Activities to Explore








What a cute idea!
Thanks Renee!
Looks great! Instructions sound so simple, thanks for a great idea